How to Fix Air in Water Pipes: Complete Guide
Learn how to identify and eliminate air pockets from your home's water pipes effectively.
How to Fix Air in Water Pipes: A Complete Homeowner’s Guide
Air trapped in your home’s water pipes can create frustrating problems, from reduced water pressure to annoying sputtering and gurgling sounds. Whether you recently had plumbing work done, experienced a water main break, or simply noticed declining water flow, air pockets in your pipes can affect your entire household’s water quality and convenience. The good news is that in many cases, you can resolve this issue yourself without calling a professional plumber. This comprehensive guide will walk you through identifying air in your water lines and implementing effective solutions to restore proper water pressure and flow throughout your home.
Understanding Air in Water Pipes
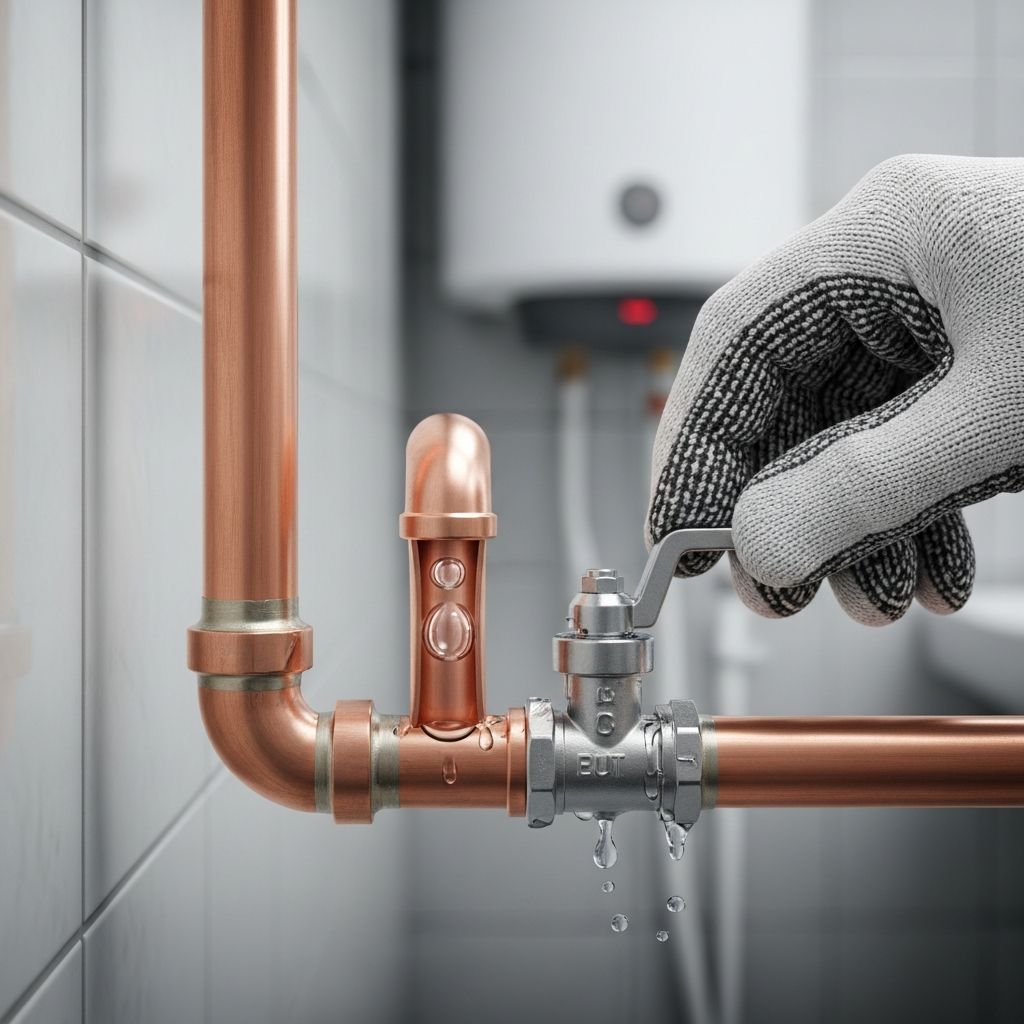
Air naturally enters your plumbing system during maintenance, repairs, or when the municipal water supply is interrupted. Unlike water, air is compressible and rises toward the highest points in your plumbing network, where it becomes trapped. When air accumulates in these high points, it reduces the cross-sectional area available for water flow, significantly decreasing water pressure at affected faucets and fixtures. This problem, often called an “airlock,” can manifest in various ways throughout your home.
Understanding how air behaves in your plumbing system is the first step toward resolving the issue. Air pockets typically accumulate at the highest elevations of your water supply lines, which is why upper floors or fixtures at higher elevations are usually affected first. The severity of the problem depends on the size and location of the air pockets, as well as how many separate air pockets exist throughout your system.
Signs of Air in Your Water Pipes
Before attempting to fix the problem, you should recognize the common indicators that air is present in your water system:
- Sputtering faucets: Water flows inconsistently, with interruptions and spurts rather than a steady stream
- Gurgling sounds: You hear unusual noises coming from your pipes, particularly in walls or under floors
- Reduced water pressure: Water flow is noticeably weaker than normal at one or multiple fixtures
- White or cloudy water: Water appears milky or discolored due to air bubbles suspended in it
- Banging pipes: You hear loud knocking or hammering sounds when you turn on faucets
- Inconsistent temperature: Hot water takes longer to reach fixtures, or temperature fluctuates unexpectedly
Method 1: Using the Garden Hose Technique
The garden hose method is often the quickest solution for removing air from your water pipes, and it works by using pressure from a working faucet to force air out through an affected tap. This method is ideal when only one or two fixtures are experiencing problems, rather than your entire system.
Step-by-Step Instructions
- Attach one end of a garden hose to the faucet experiencing reduced water pressure or sputtering
- Attach the other end to a working faucet that has good water pressure
- Turn on the working faucet to send pressurized water through the hose into the affected line
- Allow the water to run for several minutes, forcing the air out of the broken tap
- If the problem persists after a few minutes, turn off both taps and wait three to four minutes before trying again
- Once water flows normally from the affected tap, turn off the working faucet first
- Remove the hose from the higher tap to prevent another airlock from forming
- Disconnect the hose from the lower tap and allow any remaining water to drain
This method works because the pressurized water from a functioning tap forces the air through the affected line and out through the open faucet. The key to success is patience and ensuring adequate water pressure from your working source.
Method 2: Draining Your Entire Plumbing System
When air affects multiple fixtures throughout your home or when the garden hose method fails, you may need to drain your entire plumbing system. This more comprehensive approach removes all water from your pipes, allowing air to escape naturally as the system refills. This method takes longer but is more thorough and addresses air pockets throughout your entire water supply network.
Step 1: Turn Off Your Main Water Supply
The first and most critical step is to locate and turn off your main water supply valve. This valve is typically found in your basement along the perimeter of your home’s foundation, though it may also be located near your water heater, under the kitchen sink, or outside along your home’s foundation. Once you’ve located it, turn the valve clockwise until it’s completely closed. This prevents fresh water from entering your plumbing system while you’re working on it.
Step 2: Open All Faucets and Fixtures
Once your main water supply is off, open all faucets and taps in your home, beginning with the highest one and working your way down to the lowest. Don’t forget about faucets in less obvious locations like basement sinks, outdoor hose bibs, and laundry room connections. You should also turn on all water-using appliances, including your shower, washing machine, and dishwasher. Opening every water inlet creates pathways for air to escape from your plumbing system.
As you open each faucet, you may hear sputtering, gurgling, or hissing sounds—this indicates that air is being released from your pipes. Keep all faucets open as you proceed to the next steps. Remember to start from the highest faucet and progress downward, as this follows the natural path air will take as it escapes your system.
Step 3: Flush Toilets and Allow System to Drain
Flush each toilet in your home multiple times to empty water from the toilet tanks. Then, open the lowest faucet in your home completely to allow the remaining water to drain out of your plumbing system. Gravity will help pull water down and out, carrying air along with it. Allow the system to drain completely until no more water comes out of the lowest faucet.
Step 4: Restore Your Water Supply
After your system has completely drained, it’s time to restore your water supply. Turn on your main water supply valve by turning it counterclockwise. You’ll likely hear water rushing back into your pipes and may notice continued sputtering and gurgling—this is normal and indicates that air is being pushed out of your system as water fills the pipes.
Once water begins flowing, close the lowest faucet that was open for draining. Then, starting with the highest faucet in your home, gradually turn each faucet to the half-open position, then to full open. Allow water to run through each faucet for 30 seconds to one minute until you observe a steady, consistent stream without sputtering or air sounds. This gradual opening process helps push air out of your system systematically.
Final Steps After Air Removal
Once you’ve removed the air from your water pipes using either method, take these final steps to ensure the problem doesn’t recur:
- Close all faucets firmly but gently to avoid damaging washers or seals
- Monitor your water pressure and listen for any remaining unusual sounds
- Check all visible pipes and connections for leaks, as these can reintroduce air into your system
- Inspect your air release valves and vents to ensure they’re clear and functioning properly
Preventing Future Air Problems
While air in water pipes is often an unavoidable consequence of plumbing maintenance or system changes, you can take preventive measures to reduce the frequency of these problems:
- Install check valves: These devices help control water flow and can reduce air entrapment in specific lines
- Maintain air release valves: Periodically open these valves to manually release any accumulated air
- Monitor for leaks: Even small leaks can introduce air into your system, so address them promptly
- Avoid water main disruptions: When possible, request advance notice before municipal water work to prepare your system
- Professional maintenance: Having a plumber inspect your system annually can identify and prevent air-related issues
When to Call a Professional
While these DIY methods resolve most air-in-pipes issues, certain situations warrant professional assistance. Call a licensed plumber if:
- Air problems persist after completing these procedures twice
- Multiple fixtures throughout your home are severely affected
- You notice leaks or water damage when inspecting pipes
- Your air release valves appear damaged or corroded
- You’re uncomfortable locating or working with your main water supply valve
- Your home has an unusual plumbing configuration or older pipes
Common Questions About Air in Water Pipes
Q: How long does it take to remove air from water pipes?
A: Using the garden hose method typically takes 5-15 minutes. Draining your entire system usually takes 30 minutes to an hour, depending on your home’s size and plumbing complexity.
Q: Is air in water pipes dangerous?
A: Air in water pipes is not typically a health hazard, but it indicates water quality issues and can damage your plumbing system over time by causing water hammer and reducing efficiency.
Q: Can I fix air in pipes without turning off the main water supply?
A: The garden hose method can work without turning off the main supply, but draining your entire system requires shutting off the main valve for safety and effectiveness.
Q: What causes air to get into water pipes in the first place?
A: Air enters during plumbing repairs, municipal water main breaks, low water pressure situations, or when the water supply is shut off and then restored.
Q: Will air eventually leave my pipes on its own?
A: While some air may eventually escape, waiting is inefficient and can cause water pressure problems and potential damage. Active removal using these methods is recommended.
Q: Should I be concerned about white, cloudy water?
A: Cloudy water is usually caused by air bubbles and is not dangerous. It will typically clear within a few minutes as air escapes. If cloudiness persists, contact your water utility.
References
- How to Deal with an Airlock in Your Pipes — 24|7 Home Rescue. December 2025. https://www.youtube.com/watch?v=i4BWnYZAMCg
- How to Remove Air From Your Home Water Lines — Cinch Home Services. December 2025. https://www.cinchhomeservices.com/homeowners/blog/how-to-remove-air-from-home-water-lines
- How to Get Air Out of Water Pipes: A Splash Plumbing Guide — Splash Plumbing. December 2025. https://www.splashplumbing.com/how-to-get-air-out-of-water-pipes/
Similar Articles



Read full bio of Sneha Tete